
Barebow takes modern made risers back to the basics of archery, with no stabilisers, sight, clicker, or mechanical aids. Although at first barebow may seem rather simplistic and limited, there are a wide range of shooting styles and techniques. Both recurve and compound bows can be shot barebow, albeit with some restrictions (see GNAS Rules of Shooting). In recent years SUAC has had an increase in the amount of Barebow shooters in the club, Lexi Elliot and James Nelson taking bronze at BUCS in 2012 and 2013 respectively.
Safety – If you wish to shoot barebow (or any bowstyle) for the first time seek advice or guidance from a coach or senior. The notes and summaries given below are merely an outline of the different techniques. In particular, care should be taken when drawing with the nock close to your eye, which can result in serious injury should the nock break.
Barebow Techniques and Methods
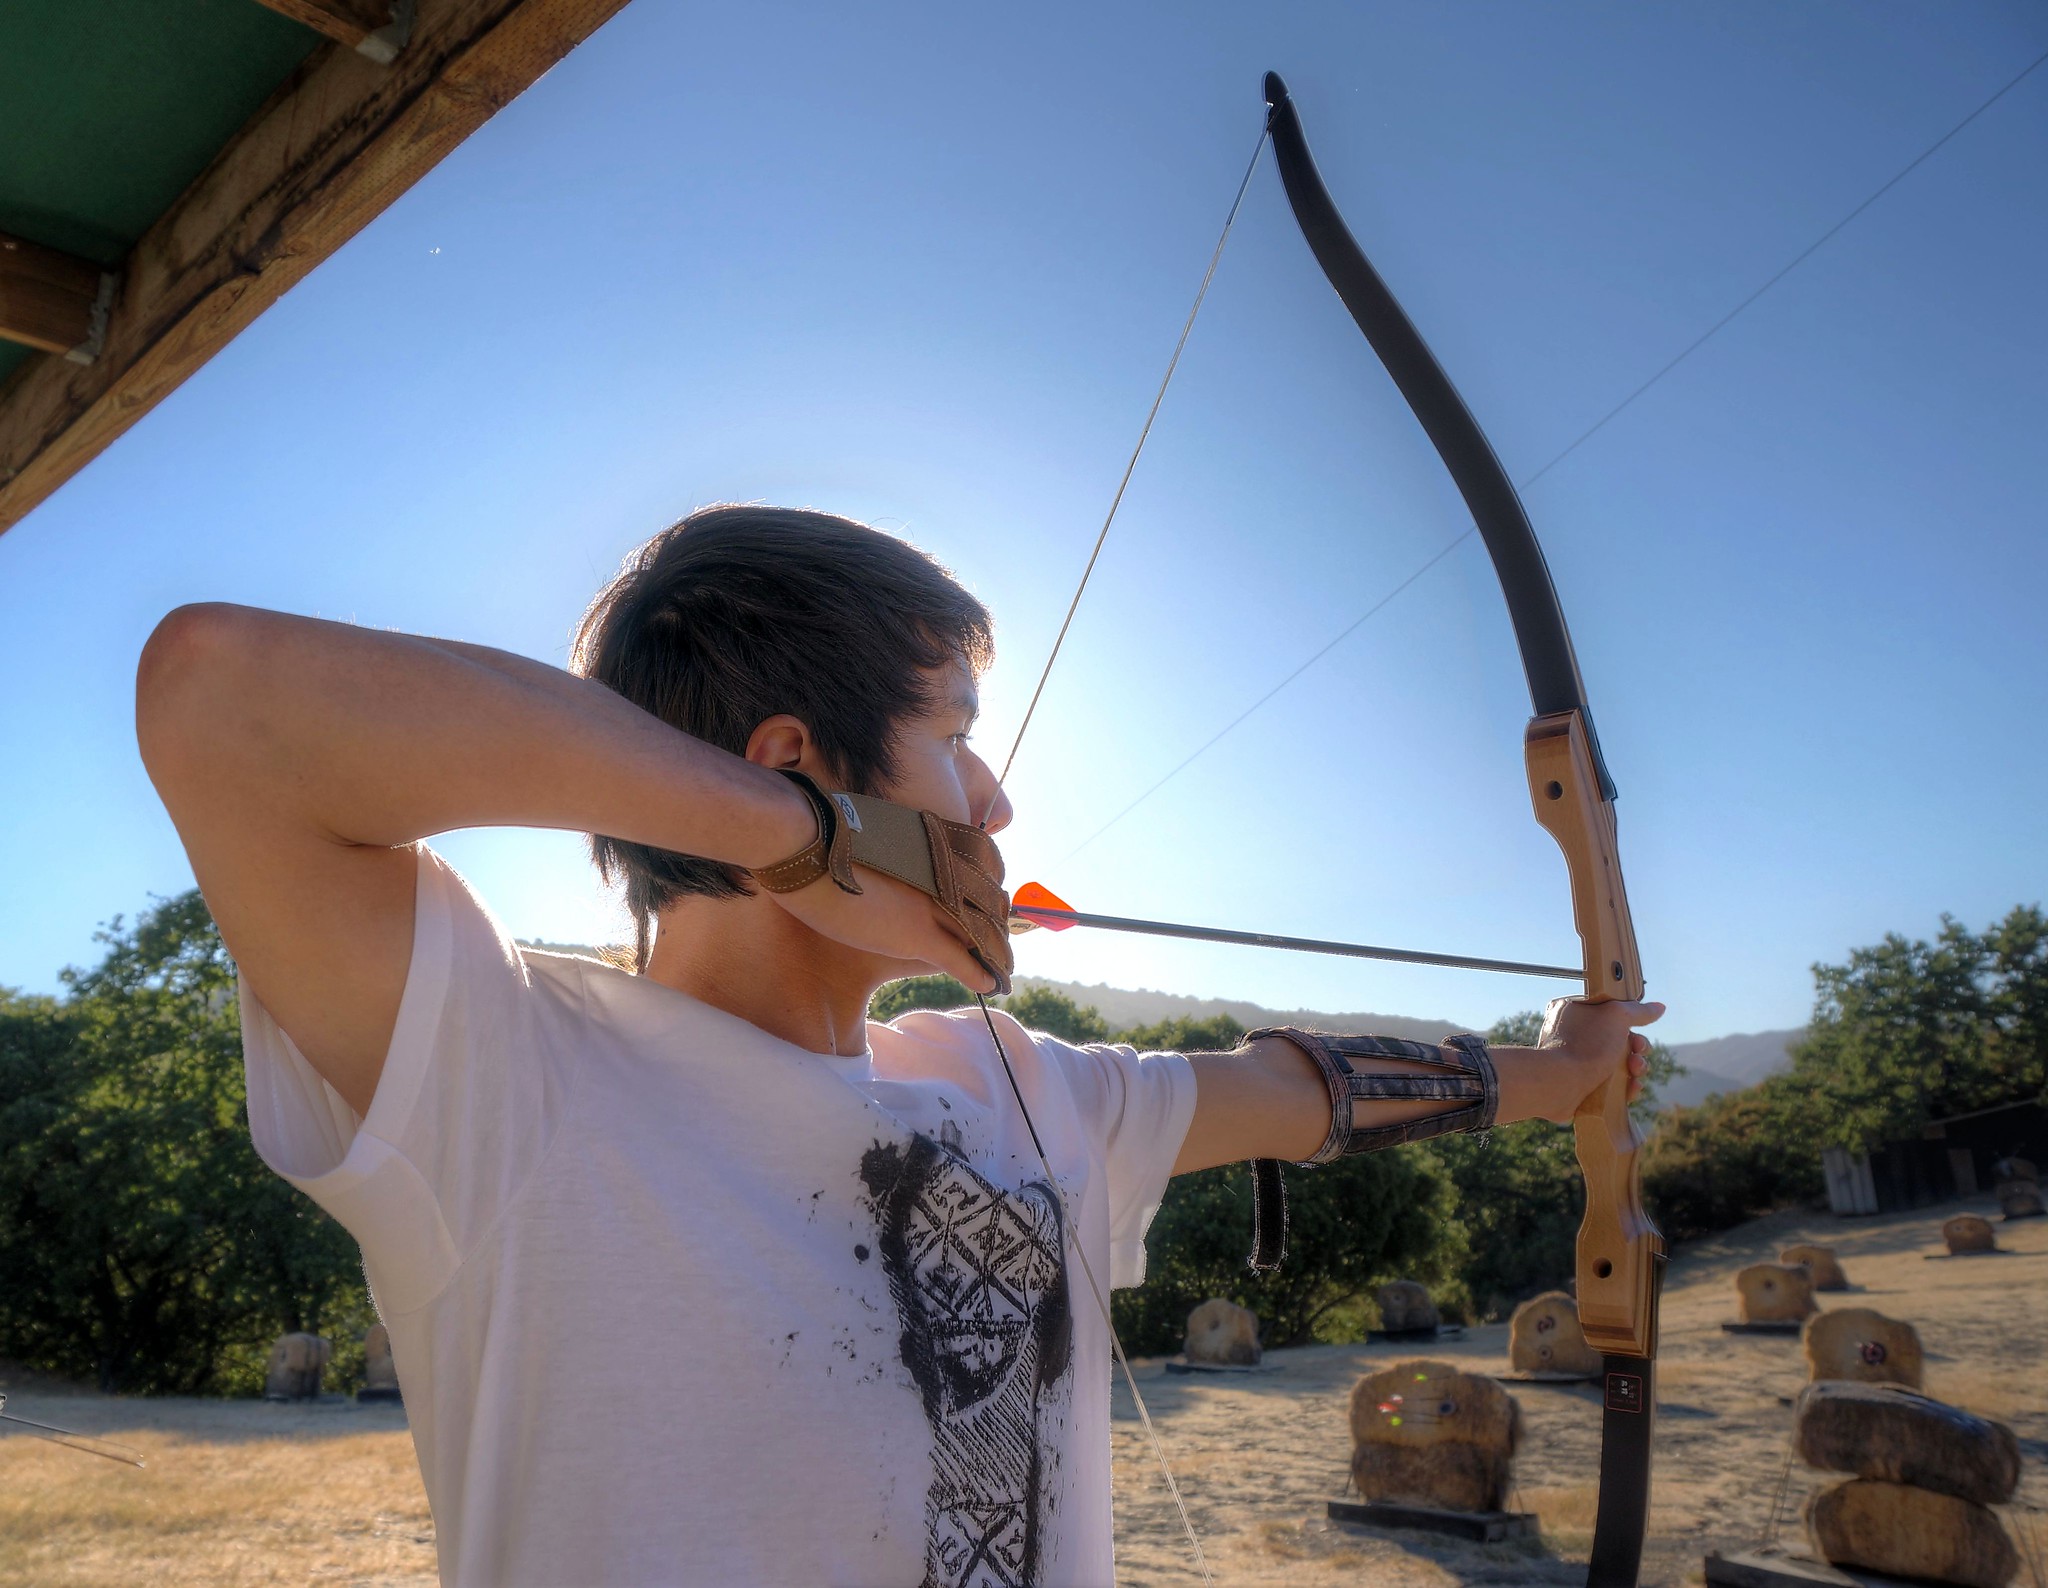
Image: Focus and determination by Peter Thoeny [CC BY-NC-SA 2.0], on Flickr
Finger Position on String
- Mediterranean Release – The standard recurve position: one finger above the nocking point and two below, with the arrow nocked in between.
- Three Finger Under – The standard barebow position: three fingers positioned beneath the bottom nocking point of the string, under the arrow. Used in string walking.
Anchor Points
- Anchor points are the position where you draw back to and reference from. As with recurve archery where you draw the string to your nose, you must also anchor while shooting barebow.
- It is not uncommon to find barebow archers who maintain the same anchor point as when shooting recurve: underneath their chin. Its a useful position to draw to, especially outdoors when you’re trying to hit your furthest distances. Shooting under the chin can really help you to reference on the target.
- The staple anchor of barebow is undoubtedly anchoring so that your index finger is tucked into the corner of your lip, with the top of your hand running under your cheek bone.
Sighting
- If you ever shot archery when you were younger at a ‘have a go’ session, you probably shot barebow and were told to use the point of the arrow to aim on the target. This method can be used successfully once you have found a position to sight the point of the arrow, for example by sighting down the length of the arrow shaft. (Note this method tends to work well for low poundage bows at short distances indoors)
- Gap shooting is where you use a known gap between the gold and the point of your arrow to sight on the target. At different distances you will have a different sized gap. Over time, barebow archers using this method will learn different gaps for different distances. This method can be used very effectively and is used a lot by field shooters.
- Stringwalking is a technique that uses the idea that the point of your arrow should always be aimed at the gold; it involves using a three finger release and changing the distance below the nocking point that you hold the string. Thinking about this, you should be able to picture that as you move your fingers further down the string this will raise the position of the nock of your arrow relative to the point of the arrow. After trial and error you should be able to find a position for your fingers beneath the nock where you are able to aim with the point of the arrow on the gold. (Note – this method is good for short distances, at further distances where the point of the arrow is never on the target string walking is no longer possible. )
- Facewalking is a method similar to string walking in that you try to always aim with the arrow point on the gold of the target. However, instead of moving your fingers up and down the string, you change the position you anchor on your face. By lowering or raising your anchor point you are able to aim with the point of the arrow on the gold at varying distances. At shorter distances you will need a higher anchor point on your face than at longer distances.
- Instinctive shooting is not so easy to describe. It uses the same anchors and releases as describe above. However, instead of focusing on aiming you concentrate on a spot on the target as you point towards it , relying on your peripheral vision and subconscious. You learn over time the correct body position to hit your target at each distance. (Note – I shouldn’t be surprised if people disagree with what is said above , summing up instinctive shooting is hard). For more on instinctive shooting see the instinctive technique page
The Bow
- When shooting barebow you do not have stabilisers. As a result, the bow may ‘kick up’ when you shoot. Modern recurve set ups use stabilisers so that the bow drops down and away from you. Barebow archers don’t have that advantage. Adding barebow weights or shooting specially made barebow risers can reduce the amount the bow kicks back.
- Most recurve bows will have a positive tiller, but in barebow there is no definitive answer as to what tiller to use. A common setup is to shoot with a neutral tiller. The best way is to have tinker about and see if you notice any difference. (Note – Stringwalking will make it hard to find a good tune for your bow in general as changing the position of your fingers beneath the nock will change the distribution of stress on each limb. )
Extra Tips
- When shooting you needn’t reference entirely off the arrow. The shelf of your riser or another part of your bow can be used to sight, which can be helpful with those longer distances.
- A combination of the above techniques can be used. e.g. when shooting outdoors I find that, depending on the distance I will shoot, using a Mediterranean release as opposed to 3 under allows me to reference at each of the distances.
- Although some people will tell you that they aim to the left or right of the target in order to hit the gold, if there is no wind and you have the correct alignment with your body then you should not have to aim off to the side of the target.
- With barebow shooting, as with all shooting styles, it is extremely important you use a consistent anchor point, and have good alignment with your front and back hands and shoulders.